

Sympathy Card
Take care,
Linda Ann

Step #1 to Designing Backgrounds:
Creating a Night of Navy Floral Design
- Place a piece of Grid Paper under your project to protect the workspace.
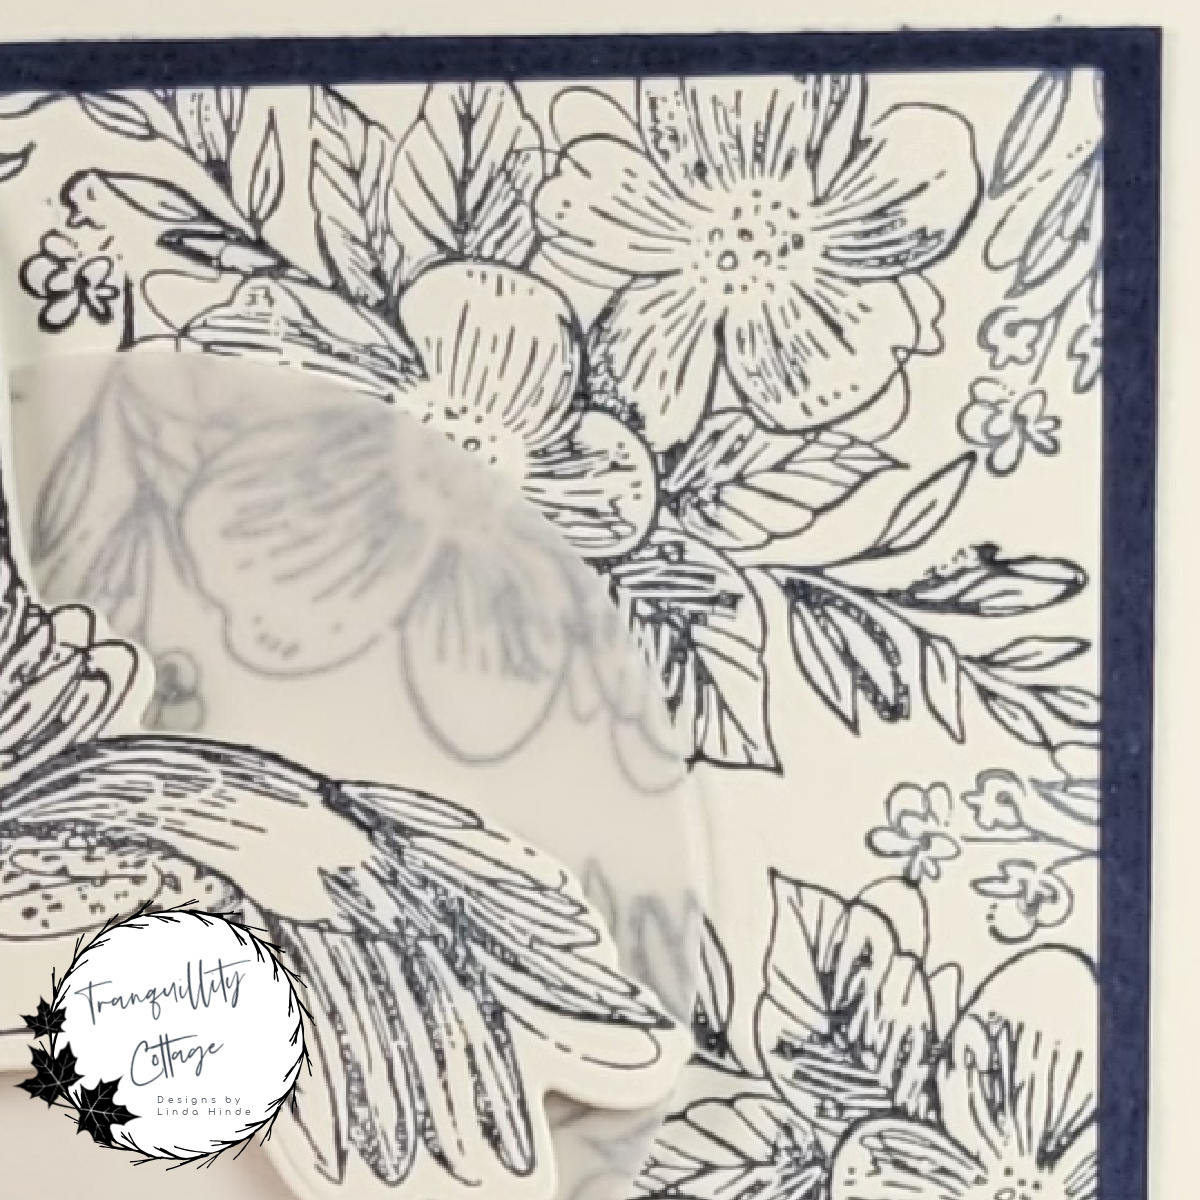
- Begin with the largest stamp and a cut-to-size Basic White cardstock. (See the materials information further in this blog post.) The Thoughtful Expressions floral bouquet stamp was selected for the "Sometimes There Are No Words Sympathy" card.
- For the card in this post, I left an area underneath where the hummingbird will be located, white—without any stamping. The negative space brings out the hummingbird and heart shapes.
- Ink the stamp with Night of Navy or your color of choice. Select an uneven number of spaces to stamp the floral design. It looks best if some of the images go off the cardstock and if the stamp is turned in a different direction for each image.
Step #2 to Designing Floral Backgrounds
Masking and Adding the Fillers
*My special tip is to create a mask for the floral stamp image.
- I stamp the image on Stampin' Up! Masking Paper.
- Next, the image is fussy cut following the edge of the design. Paper Snips are an excellent tool for this task. You will be cutting off the white edging halo. Die cuts cannot be used.
- There are times I like to make two masked images. The papers are handy when the spaces between each design are smaller.
- Place the masking paper on the image(s).
- You can now stamp additional background images without adding extra printing to the previously stamped florals. I tend to select small "filler" flowers or leaves. Sometimes, I will use the second-generation inking technique for "fillers." (Ink and stamp off on a scrap piece of paper.)
- When ready to move to a new space, I peel off the masking and reuse it on another floral stamped design.
- Note: I know that it takes extra time and masking paper, but I prefer to make a masked image for each large flower. There have been times when I reuse masking; it is still wet with ink that tends to smear.
Layering the Embellishments

Adding a stamped verse and image to the inside of your card.


|
Stamps
|
Thoughtful Expressions Hope You Know
|
|
Dies
|
Thoughtful Expressions Radiating Stitches Nested Essentials
|
|
Cardstock (Height x Width)
|
Basic White Thick – 5.5” x 8.5” scored and folded at
4.25” (card base) Night of Navy – 5.25” x 4” (mat), 2.5” x 3.5” (die cut sentiment mat) Basic White – 5” x 3.75” (top layer), 2” x 2.75” (die cut tag), 3” x 3.5” (die cut hummingbird) Moody Mauve – 2” square (die cut heart) |
|
Specialty |
Vellum – Circle Punch 2 3/8”
|
|
Ink
|
Night of Navy Moody Mauve
|
|
Embellishments
|
Neutrals Adhesive-Backed Sequins |
|
Ribbon |
Baker’s Twine Essentials - White |
Images Stampin’ Up!®


")
")

")


No comments:
Post a Comment
Love to read your comments...thanks!