Images Stampin’ Up!®
How to Redesign Cards for a Fresh Look
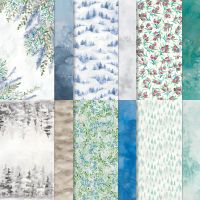
As the vibrant leaves begin to change colors in Wisconsin, signaling the arrival of autumn, it's time to think about winter card making. When I saw the frost on the deck this morning, the thoughts of Night of Navy, Boho Blue, and Garden Green came to mind - Winter Meadow Designer's Series Paper has the colors I sought!
The color scheme reminded me of a card I designed for a demonstrator challenge. Since my cards and recipes were organized, it was easy to do, but it took me years to find a method I liked. I hope some of these recipe organization tips are helpful to you.
Take care,
Linda Ann Hinde
Questions? Click on the navy button for additional blog information.
As an Independent Stampin' Up! Demonstrator, Amazon Affiliate, and Stamp-n-Storage Associate, some posts contain links, where I may earn a small commission from qualified purchases. It is important to me that I only recommend quality products that I use and enjoy! I am not affiliated with Walmart or IKEA.
Organizing Cards Timeline
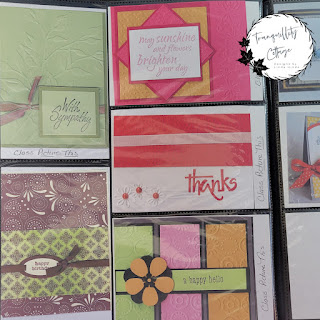
My first idea was a photo album with pockets showcasing pictures of my cards. Scanning, printing, cutting out the cards, and inserting them into the album was time-consuming.
Next, I purchased a photo album cardboard box. I started making two identical cards, one to place in a clear Stampin' Up! envelope for storage and the other I eventually mailed. Once I became an Independent Stampin' Up! Demonstrator, I realized instructions or, as I call it, a recipe template was needed.
What happened next? I went to local stores, searching for containers to hold my card and recipe. I tried plastic clear container, mini fabric cubes, rectangular cotton rope baskets, and handwoven paper rope baskets in landscape and portrait shapes. It reminded me of Goldilocks and The Three Bears - nothing fit right.
Finally, I found what I needed! There it was, a clear multipurpose plastic container in the kitchen section at Walmart. The tall container keeps the cellophane bags secure and upright. Stampin' Up! has retired the 6" x 8" bags; therefore, I am searching for a replacement with the same quality.
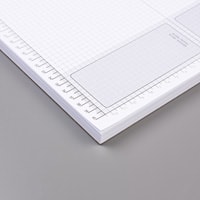
1. While designing a card, I fill in the basic information on the recipe sheet. Save and print.
Click HERE for a free copy of the Recipe Template on Google Docs.
- Name of the card.
- Picture of a completed card.
- Date.
- File name of saved image.
- File name of saved recipe.
- Materials used to create the card.
- Cutting sizes.
- Specific directions.
2. Fold the recipe sheet in half and insert it into a 6" x 9" cellophane bag.
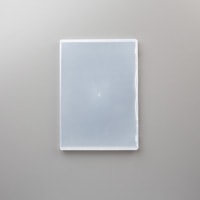
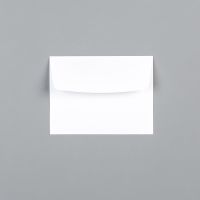
3. Take the completed card and insert it into a Clear Medium Envelope sold by Stampin' Up! Insert the protected card inside the bag, behind the recipe sheet.
4. Store the package in a multipurpose container, alphabetically or by date. I belong to a demonstrator group where we make thirteen cards each month; therefore, I file all my images in folders by date and completed number.
5. Labeling Examples for the Winter Meadow Hello Card. There are many ways to label your files but I have found consistency makes it easier to find your designs.
File name of saved image: demo-2024-09-1-13-winter-meadow-hello-card-original.
File name of image cropped in PicMonkey: demo-2024-09-1-13-winter-meadow-hello-card-1200-logo
(The original and cropped images are saved in a picture file labeled by the month and year.)
File name of saved recipe: recipe-2024-09-winter-meadow-hello-card
Winter Meadow Hello Card
Images Stampin’ Up!®
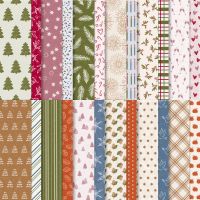
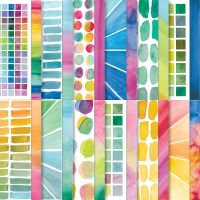
Today's post began with my thoughts of a frosty morning walking to my cottage studio. I decided to recreate the Winter Meadow Hello card in my file. Since the Gingham designer's series paper has retired, I searched my 6"x 6" current papers. A few choices came from the Thoughtful Journey, Iconic Celebration, and Full of Life papers. Which one would you pick?
Amazon Affiliate Products
Click on each button for a direct ink to products.
Click on the yellow maple leaf for a detailed disclosure.



















No comments:
Post a Comment
Love to read your comments...thanks!